Introduction
Is the exterior of your home looking a little tired? Has the paint on the walls started to chip and fade, causing your once vibrant abode to look dull and old? If so, you are in the right place! We fully understand how daunting it can be to paint a house, especially considering the myriad of steps involved in maintaining consistent quality from start to finish.
At Earthly Matters Contracting, Inc., we bring over twenty years of expertise to your painting project. We thrive in transforming houses into masterpieces worthy of a magazine cover. To help you get started and perhaps even take on the project yourself, we’ve curated a simplified, yet comprehensive guide to paint your house like a pro in just seven days.
Importance of Painting Your House
For many homeowners, the thought of painting their house might be purely cosmetic, to visually enhance its curb appeal. However, the benefits extend far beyond this. A fresh coat of paint serves as a protective shield against weather damage – safeguarding your home and saving you money down the line.
Benefits of DIY House Painting
Taking on a DIY painting project isn’t just about saving on costs, but it also offers a sense of personal satisfaction. The pride that comes with a job well done, transforming spaces within your home, and injecting your personal style into every corner.
To help guide your house painting process, here’s a quick checklist:
1. Check the weather forecast
2. Know your home’s square footage
3. Gather necessary tools and materials
4. Prep the surface
5. Choose the right paint and color
6. Maintain a wet edge during painting
7. Plan for drying time and cleanup
But stay tuned, we will delve deeper into all these specifics later!

Preparing for the Painting Project
Before you plunge into the painting process, you need to prepare adequately. This initial preparation phase is vital to ensure a successful house painting project. Here are the key steps you need to follow:
Checking the Weather Forecast
Weather conditions significantly impact the painting process, particularly when you’re planning to paint a house exterior. It’s best to choose a dry time of year when there is little rain and lower humidity. Paint needs time to dry and will not adhere to surfaces that are not dry.
Moreover, be aware that temperature fluctuations can also affect the curing of the paint. So, always check the local weather forecast before starting your painting project.
Knowing Your House’s Square Footage
Understanding your house’s square footage is essential when it comes to estimating the amount of paint needed for the project. You don’t want to run out of paint halfway through the project or end up with gallons of leftover paint.
To calculate your house’s square footage, you simply measure the length and height of each wall, then multiply these two numbers. Remember to subtract the square footage of doors and windows.
Planning for Drying Time
Patience is key when it comes to painting. It’s crucial to allow the paint to dry thoroughly before applying another coat. If you rush this process, you may end up with an uneven finish or visible roller marks.
Different types of paint have different curing times, and factors like temperature and humidity can also affect how long it takes for the paint to dry. For instance, oil-based paints take longer to dry but offer a smooth, durable finish that’s great for high-traffic, high-moisture areas. At Earthly Matters, we carefully plan our painting schedules to allow for optimal drying and curing time, resulting in a professional finish that lasts long.
Gathering Necessary Tools and Materials
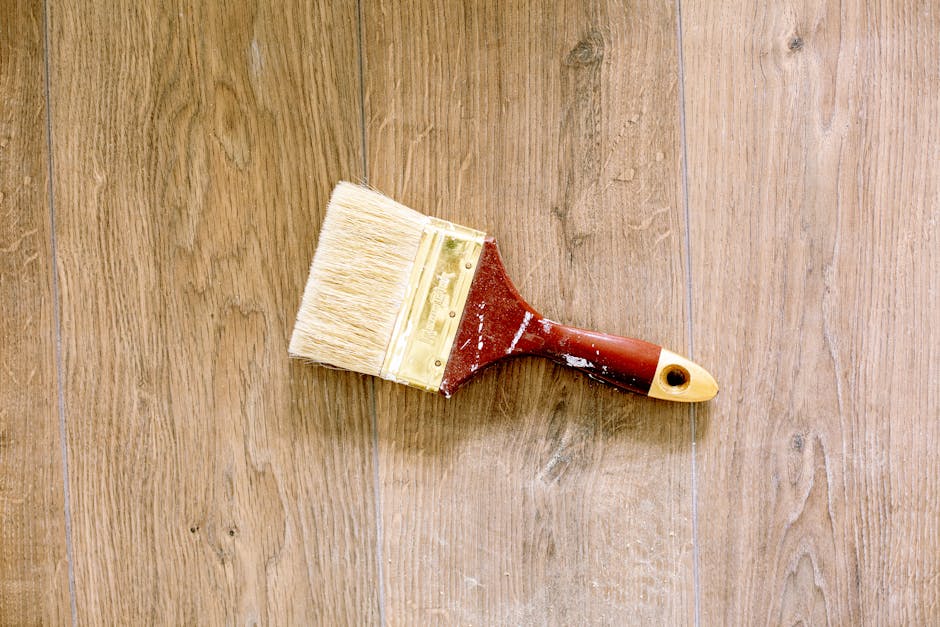
You will need various tools and materials to paint a house effectively. The essentials include paint, brushes, rollers, a paint sprayer (if needed), drop cloths, painter’s tape, sandpaper, and a ladder.
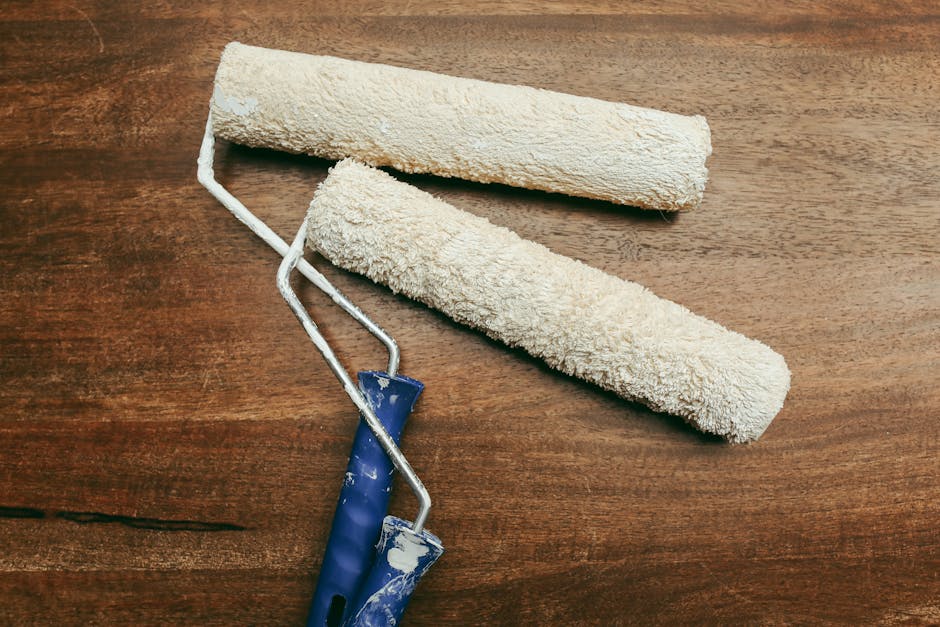
The type of paint and tools you choose can greatly affect the outcome of your project. For instance, brushes are ideal for detail work and smaller areas, while rollers are best for painting large flat surfaces, like walls and ceilings.
At Earthly Matters, we use top-quality tools to ensure a stunning result. We also guide our clients in choosing the best materials for their specific project.
Taking time to prepare adequately for your painting project will set you up for success. In the next section, we’ll guide you through the process of preparing the surface for painting, a critical step towards achieving a professional and lasting finish.
Preparing the Surface for Painting
Importance of Surface Preparation
When preparing to paint a house, one of the most vital steps is surface preparation. It’s like setting the stage for the main act. A clean and well-prepared surface ensures the paint adheres properly, resulting in a more vibrant and durable paint job. It’s not just about making the surface ready for paint; it’s also about addressing potential issues that could damage your home in the future.
How to Thoroughly Prep the Surface
To thoroughly prepare the surface, we follow a series of steps. Each one plays a crucial role in ensuring the surface is primed and ready for the paint.
Removing Unpainted Items:
First, remove any items that aren’t part of the painting project. This includes light fixtures, shutters, mailboxes, and other hardware. It’s a good idea to put these items in a secure area where they won’t get lost or damaged.
Scraping Old Paint:
Next, it’s time to scrape away any old, peeling paint. Tools like a power scraper can be handy for larger areas. If you’re dealing with lead-based paint, use a HEPA vacuum and appropriate protective gear, as advised by the EPA. Chemical strippers can be useful for tight spaces or intricate details. Always follow the manufacturer’s guidelines when using paint strippers, and take extra caution around plants and vegetation.
Cleaning the House:
Now, clean the exterior of your house to get rid of any dirt, dust, and mildew. We recommend using a pressure washer for this step, working from top to bottom in a controlled manner. This ensures every inch of the surface gets clean and ready for the paint job.
Caulking and Patching:
After cleaning, it’s time to caulk around window trim and any other gaps. Caulk seals gaps, preventing water from getting behind trim and siding. It also smooths transitions between the siding, trim and other similar transitions.
Masking Unpainted Areas:
Lastly, mask off areas that you don’t want to be painted using painter’s tape. This includes windows, doors, and trim.
Repairing Damages and Priming
During the preparation process, you might encounter spongy wood or missing window panes. When this happens, it’s critical to repair these areas before moving forward. Use a wire brush to scrape away rotted wood until you reach sound wood. You can then repair the area with an exterior-grade wood filler or two-part epoxy kit. For window panes, remove old, cracked glazing putty carefully and apply new glazing compound as per the manufacturer’s instructions.
Once the surface is repaired and prepped, it’s time to prime. The primer acts as a sealant for any exposed wood and provides a good adhesive layer for the finish coats. If the existing paint is in good condition, then spot-priming is adequate. However, if the house hasn’t been painted for many years, or there’s a significant color change, then priming the entire house is necessary.
Proper surface preparation is an art in itself. It requires patience, precision, and an understanding of the materials and techniques involved. At Earthly Matters Contracting, Inc., we pride ourselves on our meticulous preparation process, ensuring your painting project not only looks good but lasts long too. In the next section, we’ll delve into the selection of the right paint and color for your home.
Choosing the Right Paint and Color
Choosing the right paint and color is a crucial step in your painting project. The paint you choose can impact the durability of your paint job, while the color can dramatically influence your home’s curb appeal. So, how can you make the right choice?
Factors to Consider When Choosing Paint
When it comes to selecting the right paint, there are a few key factors to take into account:
1. Paint Type: There are two types of paint – oil-based and water-based (latex). Oil-based paint is more durable but takes longer to dry and requires mineral spirits for clean up. On the other hand, latex paint dries quickly, is easy to clean up with soap and water, and is less prone to cracking. For most homeowners and projects, we at Earthly Matters Contracting, Inc. recommend latex paint due to its ease of use and longevity.
2. Paint Finish: The finish of your paint can affect both the appearance and durability of your paint job. There are several finishes to choose from, including flat, satin, eggshell, semi-gloss, and gloss. The right one for your project depends on the area being painted and the look you want to achieve.
3. Quality: Not all paints are created equal. Higher quality paints provide better coverage, longer-lasting results, and are easier to work with. While they may be more expensive upfront, they can save you money in the long run by reducing the need for multiple coats or frequent touch-ups.
How to Choose the Right Color for Your House
Choosing the right color for your house can be a daunting task. Here are some tips to guide you:
1. Consider Your Home’s Style and Neighborhood: Your home’s architectural style and the color palette of your neighborhood can guide your color choice. While you might want your home to stand out, it should not clash with the surrounding houses.
2. Use a Color Wheel: A color wheel can help you understand how colors work together and create a harmonious palette.
3. Think About Your Existing Furniture and Decor: The paint color you choose should work well with these elements, creating a cohesive and visually appealing space.
4. Use Digital Tools: Tools like The Home Depot’s paint house exterior visualizer can help you visualize how different colors will look on your home.
At Earthly Matters Contracting, Inc., we understand that choosing the right paint and color for your home can feel overwhelming. That’s why we’re here to help guide you through the process, ensuring your home’s new look is one you’ll love for years to come.
In the next section, we’ll share some expert painting techniques and tips to help you paint your house like a pro.
Painting Techniques and Tips
After preparing the surface and choosing the right paint, it’s time to paint a house with professional techniques. Here at Earthly Matters Contracting, Inc., we use time-tested methods to ensure a stunning result.
Maintaining a Wet Edge
One common issue that can mar the finish of a paint job is the appearance of lap marks. These are dark stripes caused by paint build-up at the edge of a roller’s path. To avoid these unsightly marks, always maintain a wet edge as you paint. Roll the full height of the wall, and apply the paint in a ‘W’ pattern for even distribution. This technique ensures a uniform thickness and gives your walls a smooth, professional finish.
Using a Sprayer vs. Rollers
The tools you choose to paint with can greatly influence the speed and quality of your work. Paint sprayers, for example, are perfect for covering large areas quickly, but require careful prep work to protect windows, doors, and other areas from overspray. Rollers, on the other hand, are ideal for painting large flat surfaces like walls and ceilings. They give a smooth, even finish and are easy to control, making them a great choice for DIY painters.
The right tool depends on the specific requirements of your project.
How to Paint Different Areas of the House
Different areas of the house may require different painting techniques. For instance, when painting the exterior, start early in the morning before the siding heats up. This prevents the paint from curing too quickly, which can lead to flaws that need touching up.
When painting interiors, follow the ‘W’ technique mentioned earlier and allow ample drying time between coats. Rushing this process can result in an uneven finish that detracts from the overall look of your home.
Tips for a Clean and Professional Finish
Lastly, a clean and professional finish is all about the details. Be sure to address stains and marks promptly, and regularly check for peeling or cracking paint which can be a sign of moisture issues or poor adhesion. If you spot these signs, it may be time for a touch-up or a full repaint. At Earthly Matters Contracting, Inc., we can guide you through the entire process, from drying to maintenance, ensuring a hassle-free project.
By following these painting techniques and tips, you’ll be well on your way to achieving a professional-looking paint job in just 7 days. In the next section, we’ll discuss how to care for and maintain your freshly painted house to ensure it stays looking vibrant for years to come.
Post-Painting Care and Maintenance
Now that you’ve learned how to paint a house like a pro in just 7 days, it’s crucial to know how to maintain your handiwork. In this section, we’ll guide you through the right way to remove the tape post-painting, how to clean and store your painting tools, and tips to maintain your newly painted house.
Removing the Tape in the Correct Way
When it comes to removing painter’s tape, timing is everything. Pulling the tape off too soon might result in smudges, while leaving it on for too long could lead to peeling paint. The best time to remove the tape is when the paint is dry to the touch, usually after about an hour.
Start from one end, and pull the tape back over itself in a slow, steady motion at a 45-degree angle. If you notice the paint starting to peel, you can use a utility knife to lightly score along the edge of the tape before continuing.
Cleaning and Storing Your Painting Tools
Proper cleaning and storing of your painting tools will extend their lifespan and ensure they’re ready for your next project. For brushes and rollers used with water-based paints, clean them with soapy water. For oil-based paints, use mineral spirits. After washing, reshape the brush bristles and let them air dry before storing.
As for leftover paint, cover the can tightly and store it in a cool, dry place away from direct sunlight. This will keep the paint in good condition for any future touch-ups or projects.
Maintaining Your Newly Painted House
Maintaining your freshly painted house is key to ensuring the vibrancy and longevity of your paint job. Regular cleaning of your walls using a non-abrasive cleaner is recommended. Immediate attention to any stains or marks will prevent them from becoming permanent. For minor touch-ups, use paint from the original can, reduced by about 10% to 15%.
Proper ventilation is also crucial. Keep windows open and use fans to avoid moisture buildup that could negatively impact your freshly painted walls.
At Earthly Matters Contracting, Inc., we believe in providing you with the knowledge and tools to keep your paint looking fresh and new for as long as possible. Regular maintenance paired with immediate attention to stains and proper ventilation will keep your walls vibrant and fresh for years to come.
The key to a long-lasting paint job is not just knowing how to paint a house, but also understanding how to maintain it. With these post-painting care and maintenance tips, your house will continue to look like it was painted by a pro!
Conclusion
Recap of the Painting Process
Learning to paint a house like a pro in just seven days may seem daunting, but with the right approach and guidance, it can be done. Let’s summarize the steps we’ve discussed:
-
Preparation: Before you start, check the weather forecast, know your house’s square footage, and plan for drying time. Gather all necessary tools and materials.
-
Surface Preparation: A clean, smooth surface is essential for a flawless finish. Remove any unpainted items, scrape off old paint, clean the house thoroughly, apply caulk and patch where needed, and mask unpainted areas.
-
Choosing Paint and Color: Selection of the right paint and color is crucial. It should suit your house, your preferences, and the weather conditions in your area.
-
Painting Techniques and Tips: Use the right techniques, such as maintaining a wet edge and knowing when to use a sprayer versus rollers. Paint different areas of the house properly and strive for a clean, professional finish.
-
Post-Painting Care and Maintenance: Remove the tape in the correct way, clean and store your painting tools, and take steps to maintain your freshly painted house.
The goal is not just to paint your house, but to enhance its aesthetic appeal, protect it from the elements, and ensure a quality finish that lasts.
Encouragement for DIY House Painters
We at Earthly Matters Contracting, Inc. believe in your ability to tackle a house painting project with confidence. Painting your house is more than just a chore or a maintenance task. It’s a great way to express your creativity, personalize your living space, and take pride in your home.
However, if you ever feel overwhelmed or unsure during the process, don’t hesitate to reach out to professionals. We’re here to provide expert advice, high-quality service, and the attention to detail that will ensure your home looks its best.
So go ahead, grab that paintbrush, and embark on this rewarding journey. With the right preparation, techniques, and care, you’ll soon be able to step back and admire your work, knowing you’ve painted your house like a pro! Every stroke of paint is a step towards transforming your home into a piece of art. Happy painting!


